// Docs
Laser
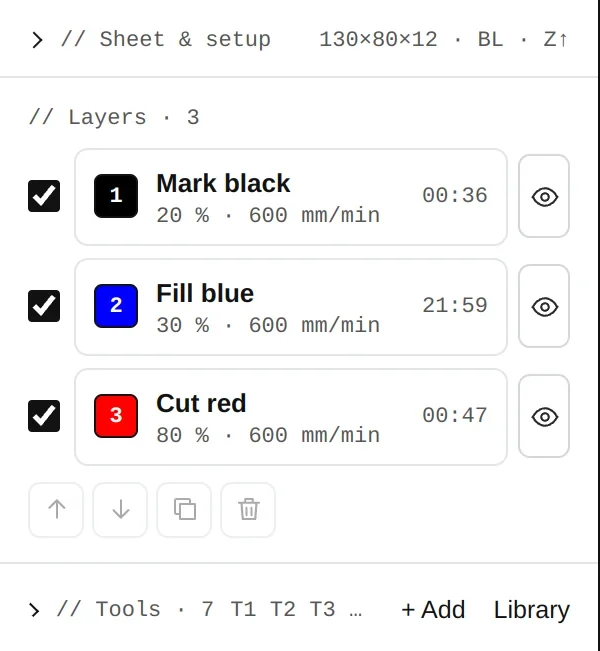
With Laser as the machine, the operation list shows layers: each colour of an imported file becomes one, with its own power, speed and passes.
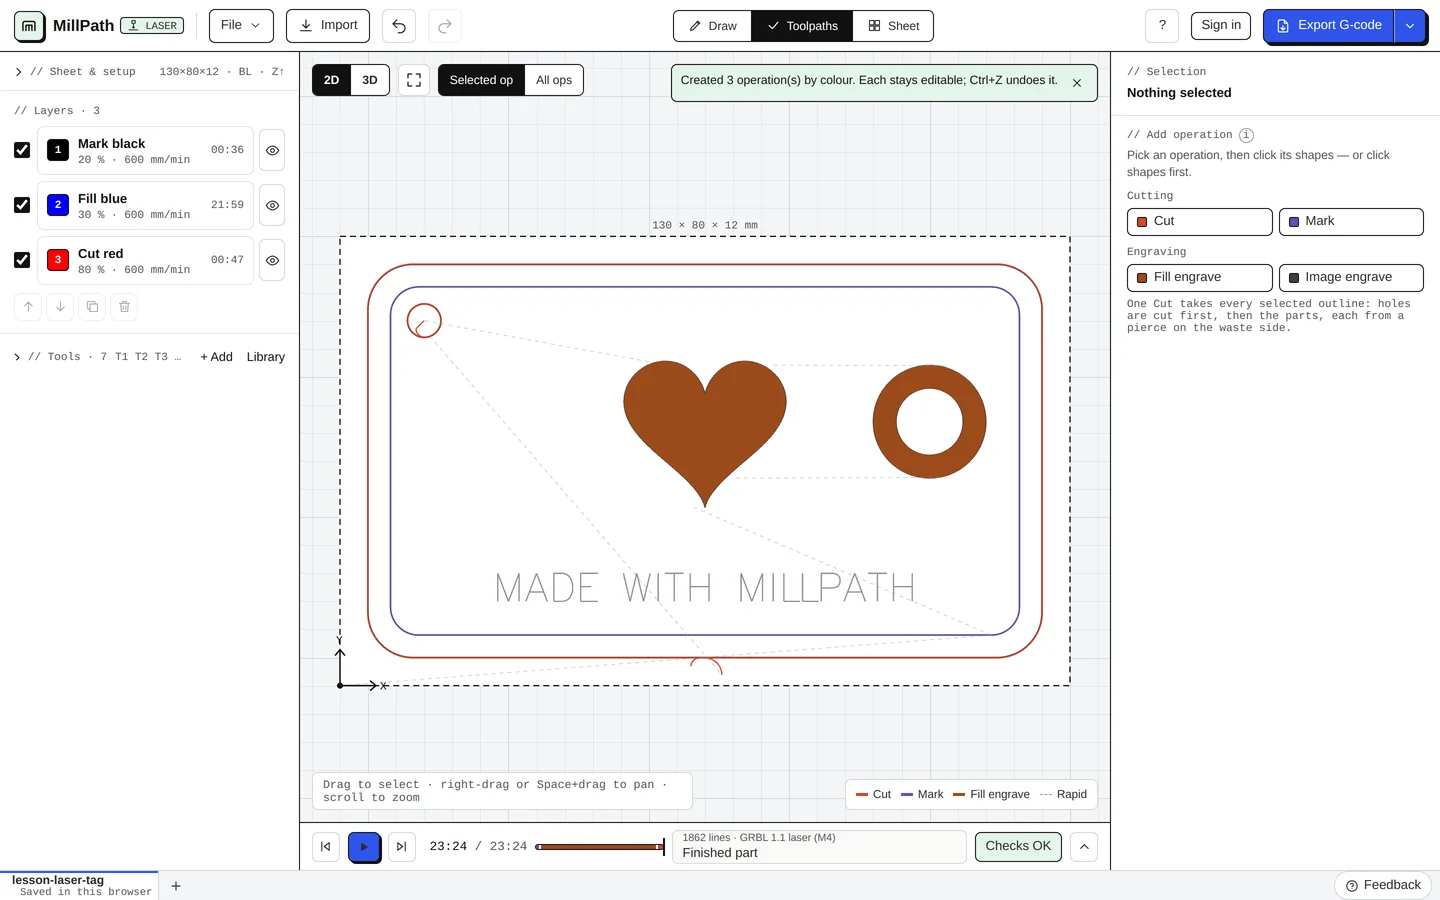
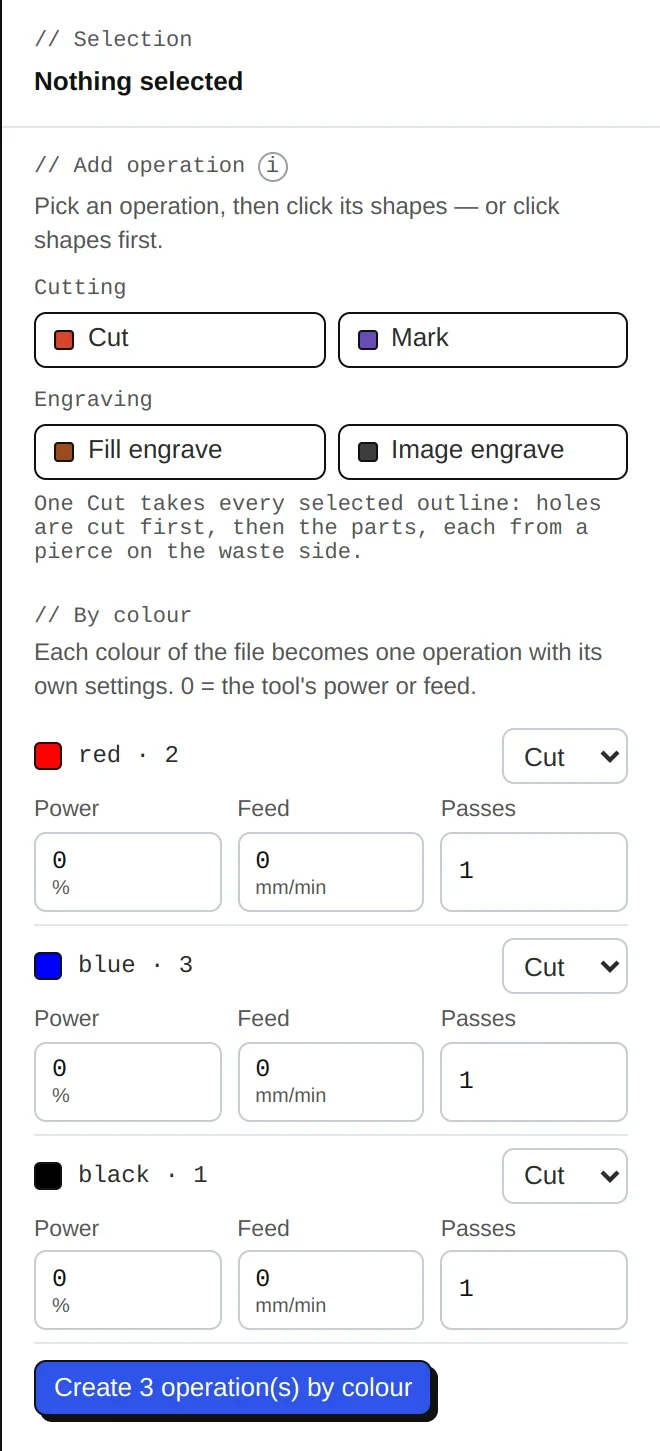
// By colour lists the colours of the drawing with how many shapes each has. MillPath suggests a job for each: Fill for a colour an SVG draws only as filled areas (logos, solid letters), Cut for outlines, Mark for lines. Pick what each becomes (Cut, Fill, Mark or nothing) and its power, feed and passes (0 = the tool's), then press the button under the list that creates them. They appear as layers on the left, marks and fills before the cut that frees the part; change any of them there like any operation.
Operations
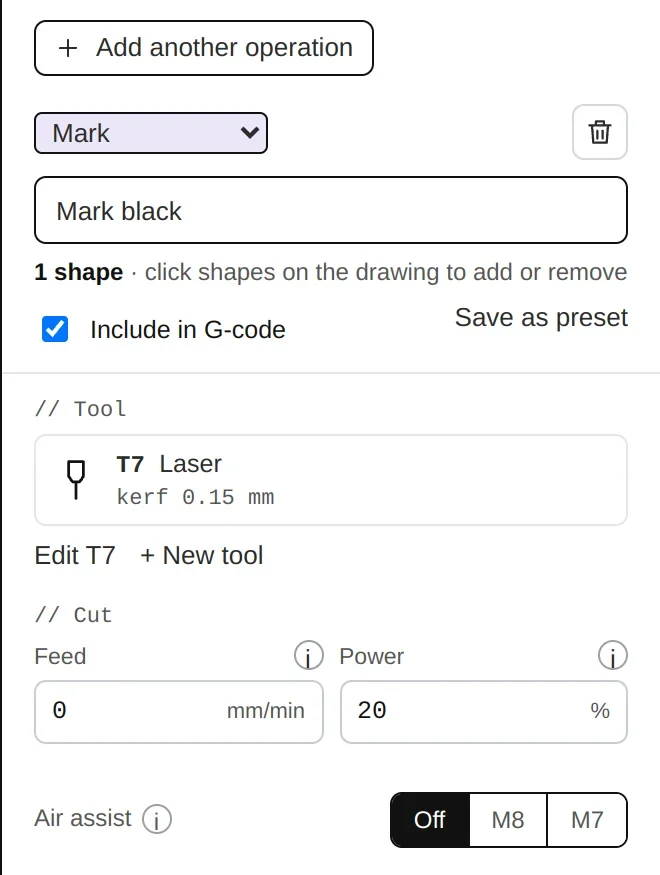
- Cut: through the material, with the beam width as kerf, holes before the parts around them.
- Mark: along the lines, at low power.
- Fill engrave: the inside of text and logos. Lines scans back and forth (fast on large areas); Rings follows the outline inwards (crisp edges on lettering). Angle, crosshatch and overscan for lines.
- Image engrave: a photo, row by row, in grayscale (power by pixel) or as dots (threshold, or dithering: Floyd-Steinberg, Jarvis, Stucki, Atkinson, Sierra). Brightness, contrast and gamma; the line interval or the DPI.
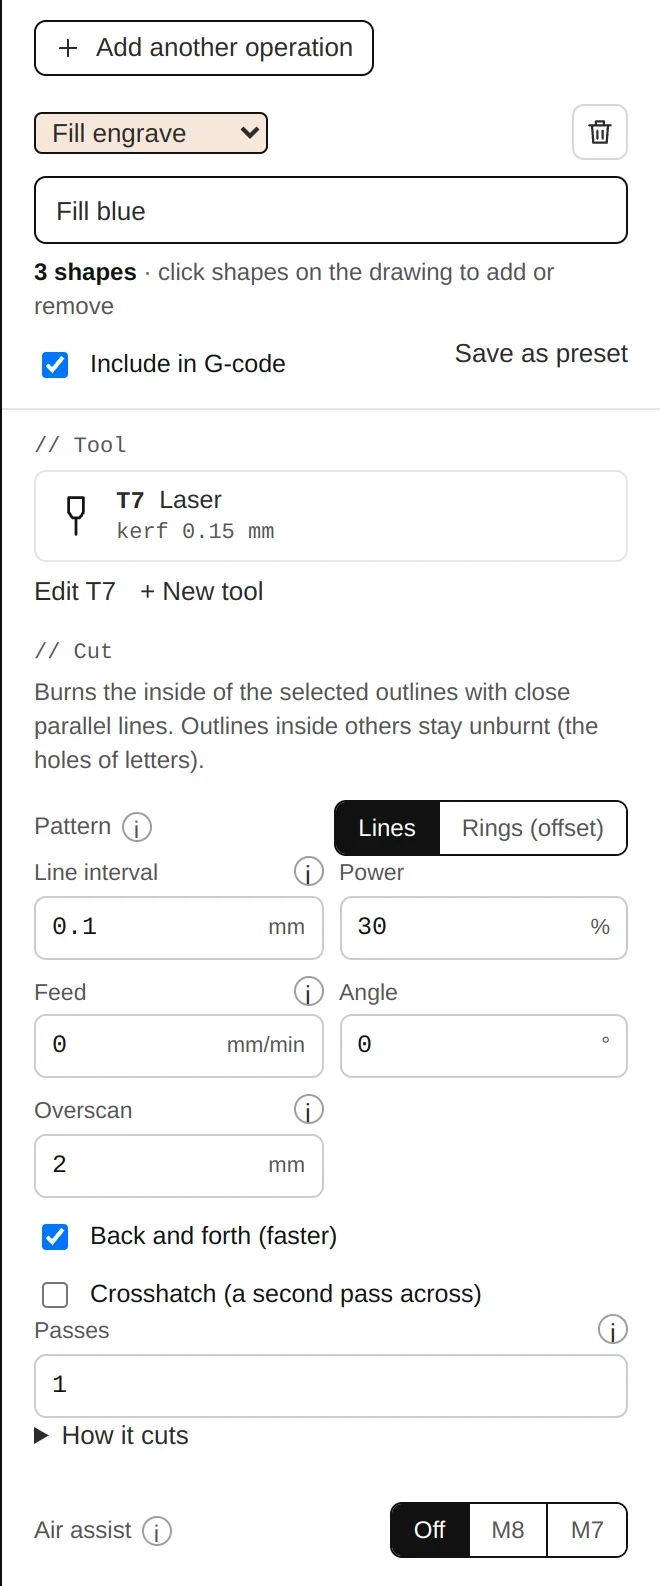
A Fill engrave burns the inside of the selected outlines with close parallel lines (or rings); outlines inside others stay unburnt, so the holes of letters stay open. Every setting is in the table below.
Every setting
| Setting | What it does |
|---|---|
| Power | The operation's power; 0 = the laser's (tool) power. Mark: low enough to mark the surface without cutting through. |
| Feed | 0 = the tool's feed. |
| Passes | Cut or burn every outline this many times: thicker sheet, or a deeper engraving. |
| Fill: pattern | Rings follow the outline inwards: crisp edges on logos and lettering. Lines are faster on large, plain areas. |
| Fill: line interval | Distance between lines. About the beam width (0.08 to 0.15 mm for a diode) gives an even fill; larger is faster and lighter. |
| Fill: angle, back and forth, crosshatch | The direction of the lines; burning both ways (faster); a second pass across. |
| Overscan | The head runs on past each end with the beam at zero, so it is at speed where it burns (no dark edges). |
| Image: line interval or DPI | The same thing, in mm or in dots per inch as laser software counts it (254 DPI = 0.1 mm). |
| Image: power for black, power for lightest | The power for the darkest pixels, and for the lightest grey still burnt (where the material starts to mark). |
| Image: brightness, contrast, gamma, invert | Brightness lightens (+) or darkens (−) the picture first; gamma above 1 lightens the mid greys (wood burns dark quickly: try 1.5 to 2.5); invert burns the light parts. |
| Image: mode | Grayscale (power by pixel) or dots: threshold, or dithering (Floyd-Steinberg, Jarvis, Stucki, Atkinson, Sierra). |
Before cutting
- Material test: a grid of squares at different powers and speeds, cut or filled; pick the best one and use its values.
- Framing (Send to machine): the head traces the outline of the job, beam off or at a dot, so you see where it will burn.
- Passes and air assist (M8 / M7) per operation.
Posts and sending
GRBL laser with M4 (dynamic power: the beam follows the actual speed, best for engraving) or M3 (constant power), and Marlin. Both GRBL laser posts are checked by GRBL 1.1h's own G-code parser in our tests. A GRBL laser can run straight from the browser over USB: Send to machine.