// Docs
Nesting on a sheet
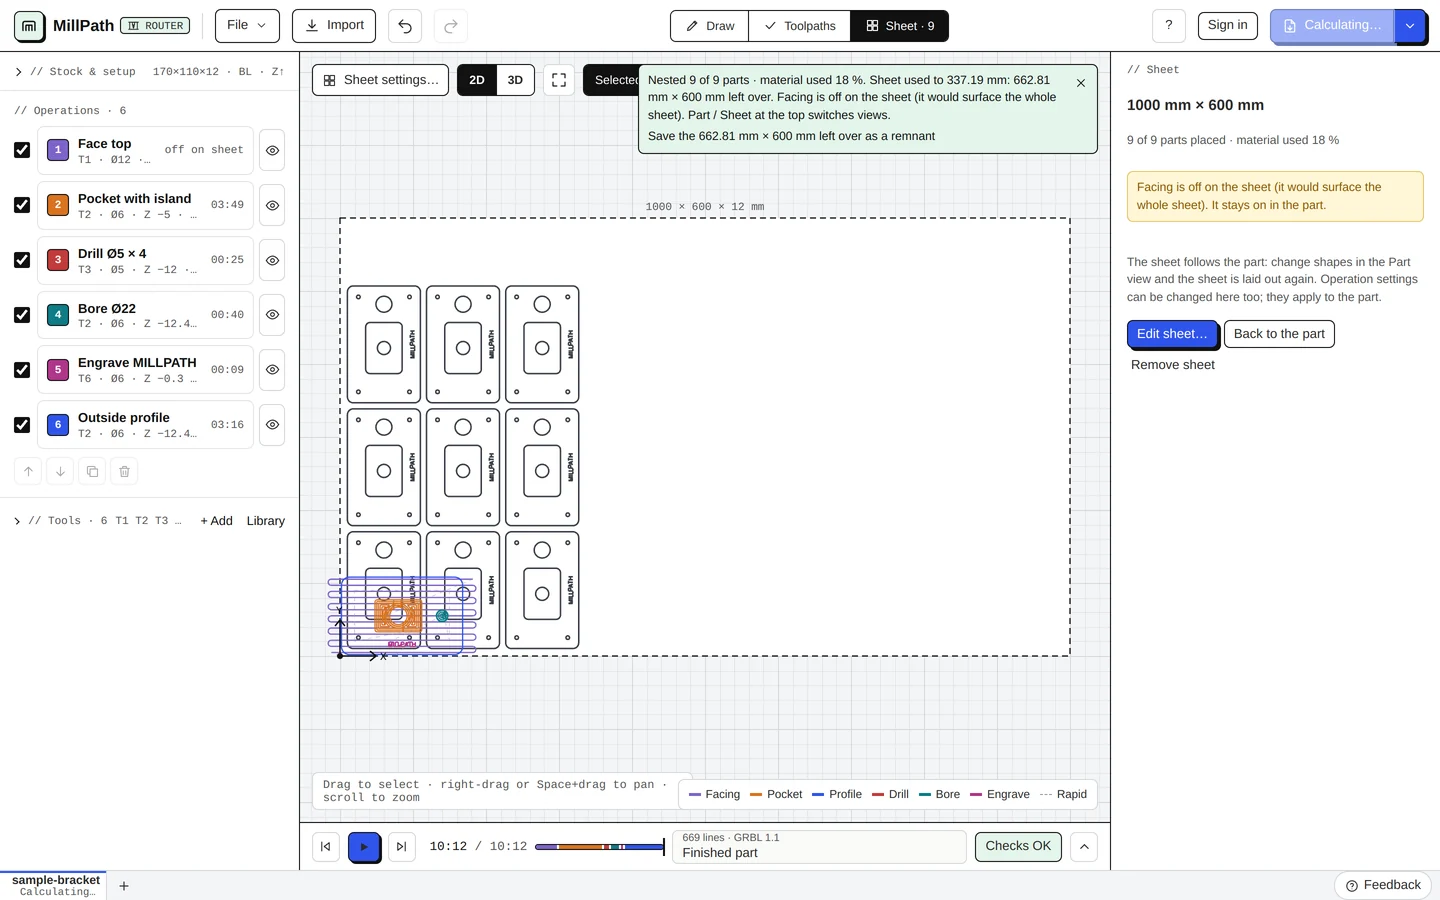
Sheet at the top lays out copies of your part (or several parts) on a sheet and makes the toolpaths for all of them. The operations you set on the part are used on every copy; change the part and the sheet is laid out again.
The Nest window
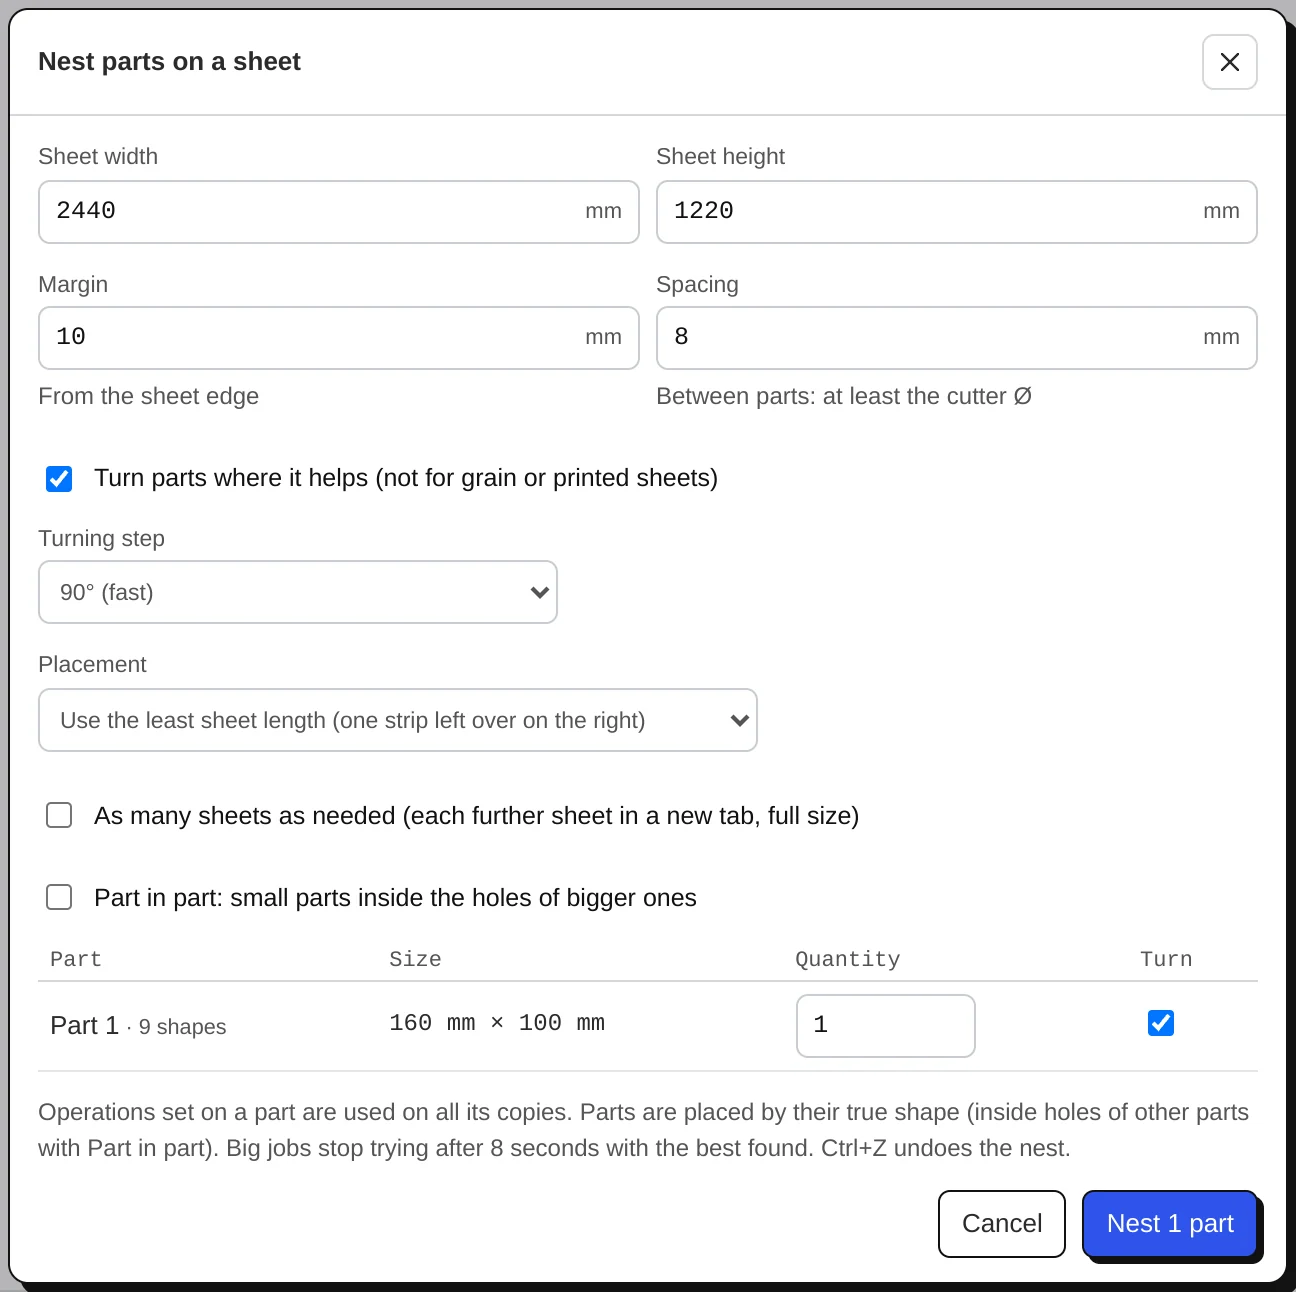
- Sheet width and height, margin from the sheet edge, and spacing between parts (at least the cutter diameter, or the kerf for plasma and laser).
- Quantity per part, and Turn per part: untick it for grain or printed sheets, so that part keeps its direction.
- Turning step: 90° (fast), 45° or 15° (tighter, slower).
- Part in part: small parts go into the holes of bigger ones.
- As many sheets as needed: what does not fit goes on another sheet, each in its own tab.
- Nest on: a full sheet, or a remnant from your library.
Placement
Least length (the default) fills from the left and leaves one strip on the right; least height leaves one strip on top; compact keeps the parts in a block in the corner. A strip that is left can be saved to the remnant library from the message after nesting, and used for the next job.
Plasma and laser
With parts a kerf apart, common-line cutting cuts each shared edge once; chain cutting (plasma) keeps the torch lit from part to part through the waste when the link is short. See Plasma.
Big jobs stop trying after 8 seconds and keep the best layout found. Ctrl+Z undoes a nest.